Don’t just eat your food, play with it! Below are six Thanksgiving science experiments that promote exploration and investigation in the classroom.
1. Bending Turkey Bones
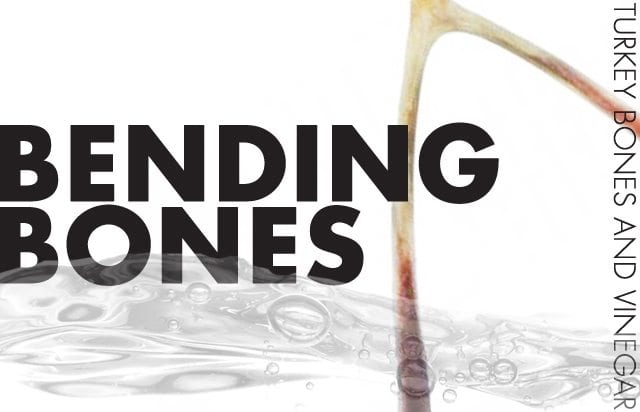
Wash the bones leftover from your Thanksgiving dinner. Can you bend or break the bones? No! Get two jars, fill one jar with vinegar and the other with water. Put bones in each jar and label the jars: water and vinegar. Let the turkey bones sit for at least one week. Then, rinse them off and see if the bones will bend! The bones that were in vinegar bend because the calcium carbonate in the bones reacted with the vinegar. This experiment shows how bones need calcium to stay strong so they don’t break easily (or bend). We don’t want bendy bones!
2. Sweet Potato Investigation
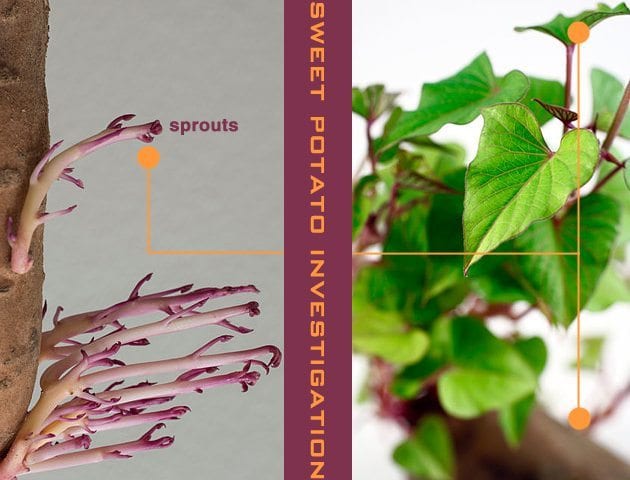
Watch a potato sprout right before your eyes, creating a sweet potato jungle! For your experiment, look for a sweet potato that has buds. Next, poke four toothpicks into the sides of the sweet potato (spaced out evenly). Put the sweet potato into a clean jar, resting the toothpicks on the jar’s rim. Fill the jar with water. The bottom half of the potato should be submerged. Place the jar in a sunny spot, change the water once a week and watch your potato grow! To get your plant to grow bushier, trim stems to 12 inches long.
3. Cranberry Science
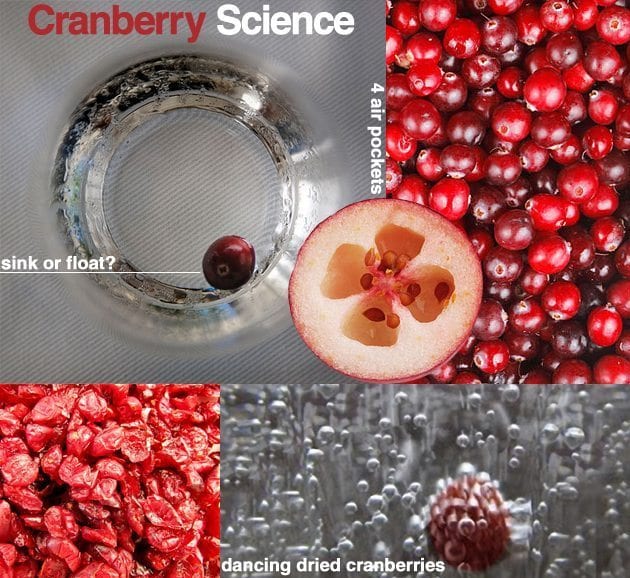
Cranberry Pockets
Do cranberries sink or float? Give each child a Styrofoam cup with water and a cranberry. Have them write their own hypothesis. What happened? Talk about cranberry bogs and harvesting (click here). Then, cut the cranberry in half, so kids can see the inside of it. Cranberries have four air pockets inside of them, which makes them float!
Dancing Dried Cranberries
Explore the three states of matter by making cranberries dance! Toss dried cranberries into a glass of Sprite and watch them bob up and down. The bubbles (carbon dioxide gas) in the soda stick to the rough edges of the dried cranberry. The bubbles bring them up to the top of the glass. Then they pop and release the CO2 into the air, making the dried cranberries fall back down.
Spy Juice
Students become spies and write secret messages to one another using homemade cranberry juice! Visit the Kitchen Pantry Scientist to learn how to concoct the juice and unveil your top secret writing!
4. Corn Cob Lab
Popping
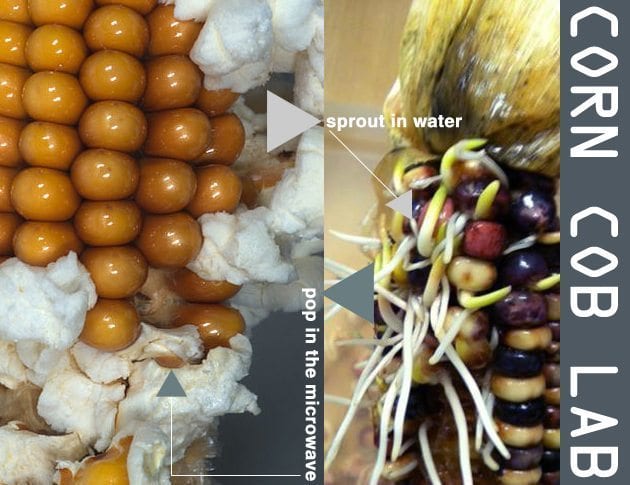
Students will be amazed when they create a cob of popcorn! Place a dried corn on the cob in a brown paper lunch bag. Fold over the bag two times to keep the kernels contained. Microwave for 2.5 minutes or until the popcorn has stopped popping. Eat it as a classroom treat or use it for a science experiment! Place the popped cob outside and watch as different animal species come by and eat off of the ear of corn. Have the students record the different types of animals in their science notebook and have a lesson on biodiversity. What animals live within your habitat? How are they all connected in your ecosystem?
Sprouting
Each kernel on an ear of corn is a seed. By placing a whole ear of corn in water, you can grow a corn cob garden! Instructions: Place a husk free, colorful, dry ear of Indian Corn in a shallow container of water. The corn should only be covered a little more than halfway with water. Place your container in a sunny spot. When the water evaporates, add more and make sure the corn remains submerged in the water. After five days, change the water. Make sure that the side you had up remains up after you change the water. The wet side of the corn is the side you place back in the water and keep submerged. Watch it grow, after a week you will start to see small sprouts or shoots.
5. Butter Exploration
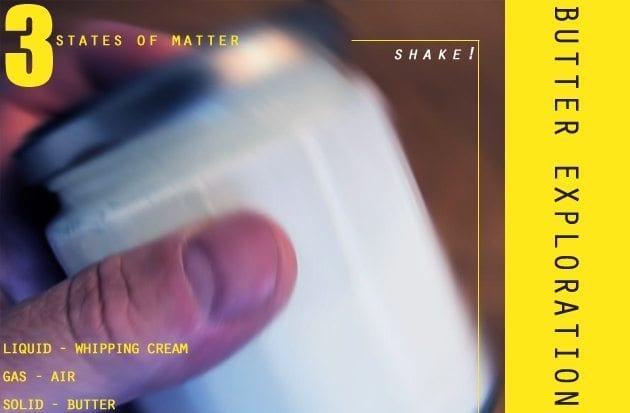
Investigate the three states of matter by shaking up cream to create butter! Pour one cup of heavy whipping cream in a container with a lid. Once poured, the container should be no more than halfway full (half cream / half air). Shake your liquid and gas to make butter! As you shake, open up your container and check out each stage as your liquid and gas suddenly create a whipped solid: butter! When your butter is ready, refrigerate it. It will become a bit harder. Note: One cup of cream will create about four tbsp. of butter). Add some salt to your butter to give it more flavor!
6. Whipped Test: Whipping Versus Shaking
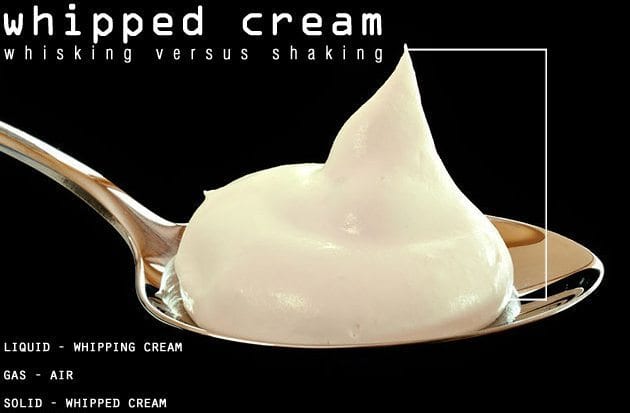
Top your Thanksgiving Food Lab off with a sweet ending! Using the same ingredients, heavy whipping cream and air, can you create a different substance? Using a hand mixer, whip one cup of cream until you get stiff peaks. Add a little sugar if you want sweet cream. Have the students compare and contrast the butter and whip cream they created. Compare the volume, texture and taste of each food item. Students can draw and label the states of matter for all of the ingredients they used and describe the process for each in writing.
